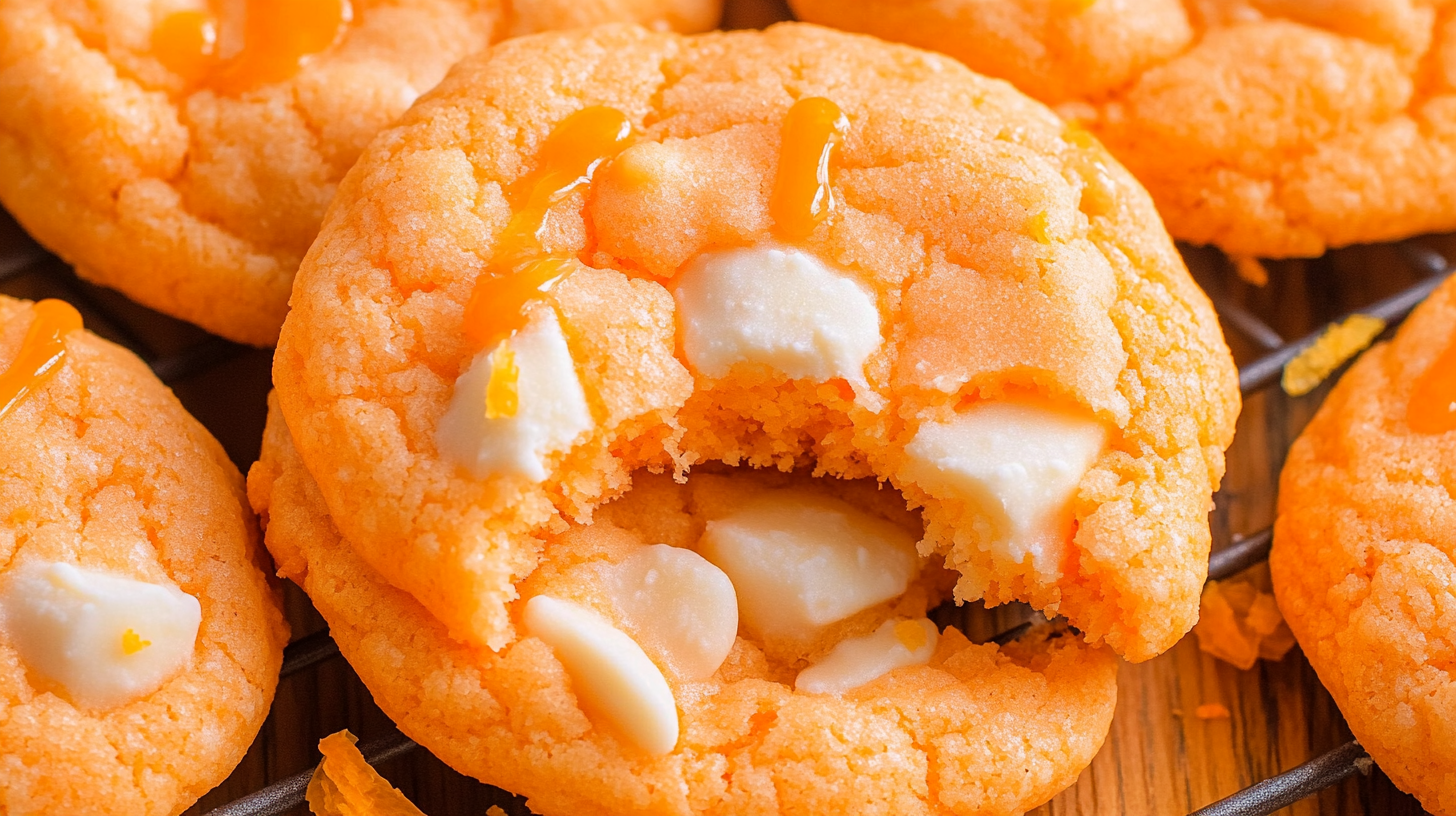
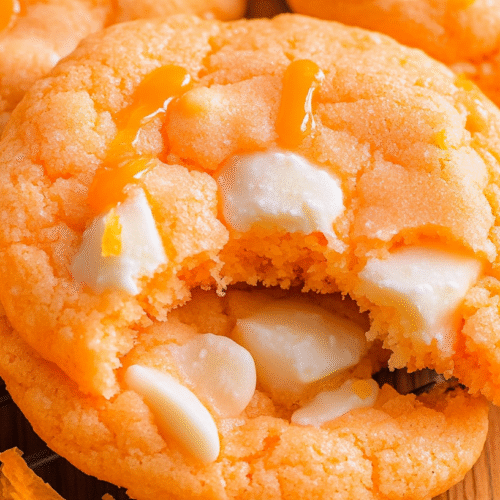
Creamsicle Orange Cookies That’ll Transport You Straight Back to Summer
Hey there, cookie lovers! Can I just say these Creamsicle Orange Cookies are an absolute game changer? I mean, remember those orange and vanilla ice cream pops from the ice cream truck that made summer afternoons absolutely magical? These cookies capture that exact same nostalgic flavor combination but in a perfectly chewy, melt-in-your-mouth cookie form. When I first made these for my family, my kids literally lost their minds – and honestly, so did I! The citrus burst combined with creamy white chocolate is next level delicious. Trust me, once you try these beauties, your cookie jar will never be the same!
Why You’ll Love This Recipe
Here’s the deal – these cookies aren’t just good, they’re freakin’ delicious! The zesty orange flavor comes from both fresh orange zest and a splash of pure orange extract, creating this bright, sunny flavor that’s impossible to resist. What really makes these special is the technique of chilling the dough – it helps concentrate those amazing flavors and gives you that perfect chewy texture. Plus, the white chocolate chunks melt into little creamy pockets that perfectly mimic that classic Creamsicle taste. The best part? These beauties are surprisingly easy to make, and the results always impress. Even if you’re new to baking, you’ll look like a total cookie rockstar!
Ingredients
Main Cookie Ingredients
- 1 cup (226g) unsalted butter, softened to room temperature
- 3/4 cup (150g) granulated sugar
- 1 large egg, room temperature
- 1 tablespoon fresh orange zest (about 1 medium orange)
- 1 tablespoon pure vanilla extract
- 1 teaspoon orange extract
- 2 1/4 cups (280g) all-purpose flour
- 1 teaspoon baking soda
- 1/2 teaspoon salt
- 1/2 cup (120ml) sour cream
- 1 1/2 cups (250g) white chocolate chips or chunks
Orange Glaze
- 1 cup (120g) powdered sugar
- 3-4 tablespoons fresh orange juice
- 1 teaspoon orange zest
- Pinch of salt
Optional Add-Ons
- Orange food coloring (gel works best)
- Extra white chocolate chips for topping
- Sprinkles or colored sugar for decoration
Instructions
Preparing the Cookie Dough
- Get your butter game on point: Start by making sure your butter is properly softened – not melted, not cold, but that perfect “I can easily press my finger into it but it still holds its shape” consistency. In a large bowl, cream the butter and sugar together until it’s light and fluffy, about 3-4 minutes. Don’t rush this step – it’s crucial for texture!
- Add the orange magic: Beat in the egg until fully incorporated, then add that gorgeous fresh orange zest, vanilla extract, and orange extract. Your kitchen is about to smell absolutely amazing! Mix until everything’s nicely combined and your dough smells like sunshine.
- Combine your dry ingredients: In a separate bowl, whisk together the flour, baking soda, and salt. This ensures even distribution and prevents any bitter baking soda pockets (nobody wants that!).
- The alternating method: Here’s the pro tip – add your dry ingredients to the butter mixture in three additions, alternating with the sour cream. Start and end with flour. Mix just until combined after each addition. Overmixing is the enemy of tender cookies!
- Fold in the white chocolate: Gently fold in those white chocolate chips. If you’re feeling extra fancy, save some to press on top of each cookie before baking for that bakery-style look.
Baking Process
- The chill is real: This is the secret weapon! Chill your dough for at least 30 minutes, but preferably 2 hours. I know waiting is torture, but trust me – this step makes the cookies infinitely better. The flavors meld together and the texture becomes absolutely perfect.
- Preheat and prep: Set your oven to 350°F (175°C) and line your baking sheets with parchment paper. Scoop the dough into 1.5-tablespoon portions (I use a cookie scoop for consistency), leaving about 2 inches between each cookie. They’ll spread, and we want that!
- Visual cues for perfection: Bake for 10-12 minutes. The edges should be set and lightly golden, but the centers might look slightly underbaked – that’s perfect! They’ll continue to set as they cool, giving you that dreamy chewy texture.
- The cooling countdown: Let them cool on the baking sheet for 5 minutes (they’ll be super soft at first), then transfer to a wire rack to cool completely.
Making the Glaze
- Whisk it good: In a medium bowl, whisk powdered sugar with orange juice, starting with 3 tablespoons and adding more if needed. You want it thick enough to coat the back of a spoon but thin enough to spread. Add that extra zest and pinch of salt – it makes all the difference!
- Glaze like a pro: Use a spoon to drizzle the glaze over cooled cookies, or dip just the top of each cookie for full coverage. Let the glaze set for about 15-20 minutes before serving (if you can wait that long!).
Storage and Reheating
These cookies stay fresh in an airtight container at room temperature for up to 5 days. For longer storage, freeze the baked cookies for up to 3 months – they thaw beautifully at room temperature. The cookie dough can also be frozen for up to 3 months. Just scoop, freeze on a baking sheet until solid, then transfer to freezer bags. Bake from frozen, adding 1-2 minutes to the baking time. Pro tip: slightly warm a cookie in the microwave for 10-15 seconds to get that just-baked magic back!
FAQ
Can I substitute the sour cream? Absolutely! Greek yogurt works wonderfully as a 1:1 substitute. You can also use buttermilk – just reduce to 1/3 cup.
My cookies spread too much. What went wrong? This usually happens when the butter is too warm or the dough wasn’t chilled enough. Make sure your butter is properly softened (not melted) and don’t skip that chilling time. Also, check that your baking soda is fresh!
Can I make these without the glaze? Of course! They’re delicious as-is. You can also try dusting them with powdered sugar or adding a simple vanilla drizzle instead.
What other flavor combinations work with this recipe? Try lemon zest with white chocolate, lime with coconut, or even cranberry and orange for a holiday twist!
Help! My cookies are too cake-like. This often means there’s too much flour or the cookies were overmixed. Make sure you’re measuring flour correctly (spoon and level) and mixing just until combined.
Conclusion
These Creamsicle Orange Cookies are seriously something special – they’re the perfect combination of nostalgic flavor and modern baking techniques. They’re absolutely perfect for summer picnics, holiday cookie exchanges, or just because you deserve something amazing on a random Tuesday! There’s something truly magical about sharing homemade cookies with people you love, and these beauties never fail to make everyone smile. Food has this incredible power to create memories and bring people together, and these cookies? They’re memory-makers for sure. I’d love to hear how your batch turns out – drop a comment below and share your cookie adventures! Happy baking, friends!
Creamsicle Orange Cookies
Ingredients
Main Cookie Ingredients
- 1 cup unsalted butter softened to room temperature
- 3/4 cup granulated sugar
- 1 large egg room temperature
- 1 tbsp orange zest from 1 medium orange
- 1 tbsp vanilla extract pure
- 1 tsp orange extract
- 2 1/4 cups all-purpose flour
- 1 tsp baking soda
- 1/2 tsp salt
- 1/2 cup sour cream
- 1 1/2 cups white chocolate chips or chunks
Orange Glaze
- 1 cup powdered sugar
- 3-4 tbsp fresh orange juice
- 1 tsp orange zest
- pinch of salt
Instructions
- Cream butter and sugar until light and fluffy, about 3-4 minutes.
- Beat in egg, orange zest, vanilla extract, and orange extract until combined.
- In a separate bowl, whisk together flour, baking soda, and salt.
- Add dry ingredients to the butter mixture in three parts, alternating with sour cream, starting and ending with flour. Mix until just combined.
- Fold in white chocolate chips or chunks. Chill the dough for at least 30 minutes, preferably 2 hours.
- Preheat oven to 350°F (175°C). Line baking sheets with parchment paper. Scoop dough into 1.5-tbsp portions, spaced 2 inches apart.
- Bake for 10–12 minutes until edges are lightly golden and centers are slightly underbaked. Cool on sheet for 5 minutes, then transfer to a wire rack.
- For glaze: whisk powdered sugar, orange juice, orange zest, and pinch of salt until desired consistency. Drizzle or dip cookies once cooled.